I've had my QK Silhouette now for about 6 months, and I do use it to die cut, but until a couple days ago, I'd had no idea exactly how much functionality they've managed to pack in here. It really is more than just a die-cutter. I think the absolute coolest thing it can do is Print & Cut. You take an image that you print on your regular printer, and then use the Silhouette to cut a silhouette right around the printed image.
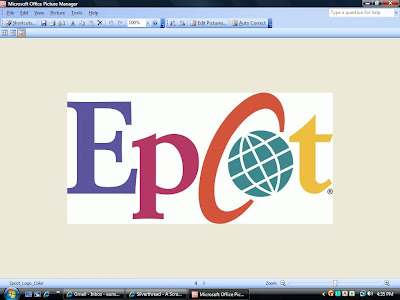
Since I'm working on a Disney album right now, I used this technique to turn the following Epcot Center logo that I downloaded off the internet:

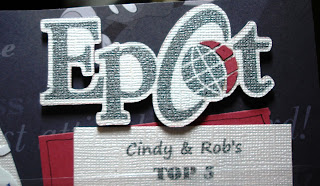
Into my title for my page (note that the black Epcot logo is printed, while the red is additional die-cut pieces):
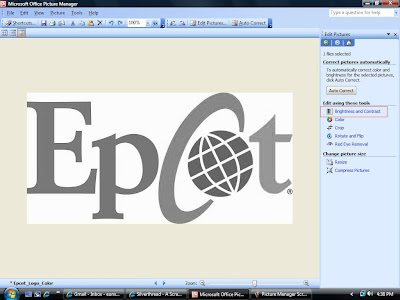
The first thing you need to do is convert the color image into black & white. I used Microsoft Office Picture Manager because it's a bit easier to use, but if you have Photoshop installed, you can do the same thing in that program.
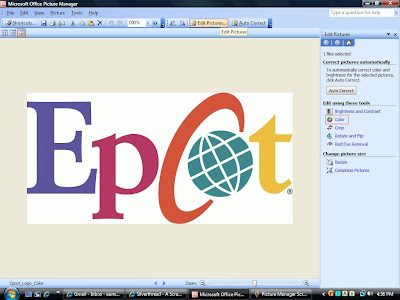
In MS Picture Manager, open the image, and then click on Edit Picture at the top. This will bring up a side menu with various choices for editing your image. Click on the "Color" option.
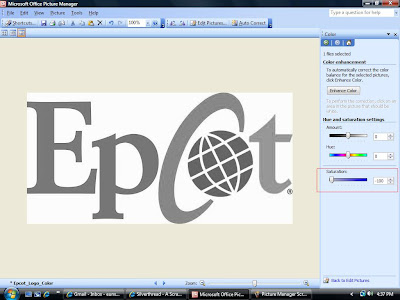
This brings up several ways you can change the color of your image in the sidebar. Adjusting your Saturation all the way down to -100 will change your image into a grayscale image.
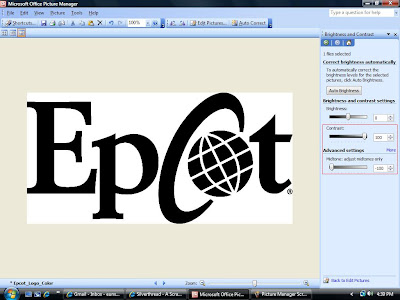
Click on Edit Picture again and this time choose the "Brightness and Contrast" option.
Adjust the Contrast all the way up and the Midtones all the way down to convert your grayscale image into black and white only. Once this is done, save your image and exit.
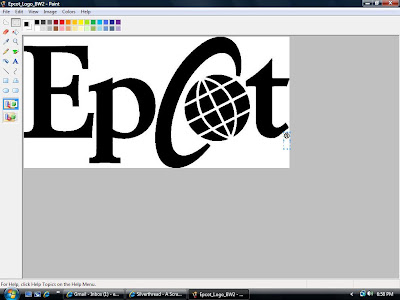
This gets your image into a pretty good black and white, but notice there is the little copyright logo at the bottom right. To delete this, I usually open up the image in MS Paint and just select the area and press delete. If you're working in Photoshop, you can just do this step in Photoshop as well. Save & Exit.
Next, open up your QK Silhouette software (ROBO Master). Open up a new document and in the Document Settings window, make sure you have "Use Registration Marks" checked. This will make sure that when you print the image on your regular printer first, it will also print some lines in the corners so that your Silhouette will automatically know where to start cutting.
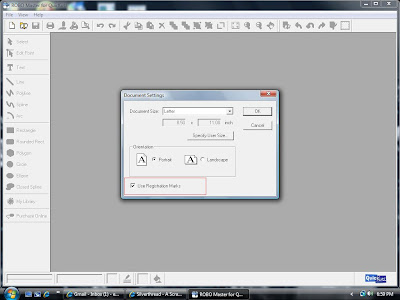
If you checked the registration marks option, you'll notice some gray shaded areas and lines pop up in the corners of your document. Make sure your image lies outside of these shaded areas.
Since I'm working on a Disney album right now, I used this technique to turn the following Epcot Center logo that I downloaded off the internet:
Into my title for my page (note that the black Epcot logo is printed, while the red is additional die-cut pieces):

The first thing you need to do is convert the color image into black & white. I used Microsoft Office Picture Manager because it's a bit easier to use, but if you have Photoshop installed, you can do the same thing in that program.

In MS Picture Manager, open the image, and then click on Edit Picture at the top. This will bring up a side menu with various choices for editing your image. Click on the "Color" option.

This brings up several ways you can change the color of your image in the sidebar. Adjusting your Saturation all the way down to -100 will change your image into a grayscale image.

Click on Edit Picture again and this time choose the "Brightness and Contrast" option.

Adjust the Contrast all the way up and the Midtones all the way down to convert your grayscale image into black and white only. Once this is done, save your image and exit.

This gets your image into a pretty good black and white, but notice there is the little copyright logo at the bottom right. To delete this, I usually open up the image in MS Paint and just select the area and press delete. If you're working in Photoshop, you can just do this step in Photoshop as well. Save & Exit.

Next, open up your QK Silhouette software (ROBO Master). Open up a new document and in the Document Settings window, make sure you have "Use Registration Marks" checked. This will make sure that when you print the image on your regular printer first, it will also print some lines in the corners so that your Silhouette will automatically know where to start cutting.

If you checked the registration marks option, you'll notice some gray shaded areas and lines pop up in the corners of your document. Make sure your image lies outside of these shaded areas.

Click on Insert --> File in your menu bar to select the image you want to print and place the image on your document. This will be the portions that prints on your normal printer. Now you need to create the silhouette that you want to cut. Right click your mouse on the document and select the "Get Outline" option.

This will bring up the Auto Trace wizard. Click on File --> Load Image in the menu bar to load your image.

Once you load your image, adjust the thickness control a little higher (I used 1.7 mm). This control sets how far around your image you want your outline. A thickness of zero will cut the image itself. Once you've adjusted the thickness, click on the "Convert to Outline" button to change the image into cutting lines.

You can see the cut lines below. If you want to see what it looks like with the original image overlaid, you can click in the "Show Background" checkbox

Notice how currently, the interior of the "p" and "co" are being cut. If you wanted just an exterior outline, you can check the "Outer Frame Only" checkbox and it will leave the interior white spaces out.

You can keep adjusting the thickness and then clicking the "Update" button until you have the cut lines where you want it. Once you're happy, click on the "Paste then Exit" button at the bottom.

This will place the silhouette on your document.

Resize the silhouette until it fits around your print image. You may need to use the horizontal & vertical adjustments as well to get it to fit around perfectly.

Once you're done, click on the Print button at the top to print the original image to your regular printer along with the registration marks.
Note that you may have trouble if you are printing the registration marks on heavily textured Bazill since your lines may not be completely straight. For my Bling paper, I actually cut a smaller piece to cover the Epcot, and used permanent tape to place it on normal 8.5 x 11 printer paper. Note that it has to be permanent tape rather than repositionable because otherwise the cardstock will shift around during cutting with the Silhouette.

When your printer is done printing, take the paper and place it on your Silhouette cutting pad and load it into your Silhouette with the side that says "Feed this side first". Make sure that the top registration marks are still visible before the cutting mechanism. If you load the paper in too far, it will have trouble picking up the first registration mark. Click on the Cut button in your QK Silhouette program and follow the normal cutting instructions.

When you get to the 4th screen, make sure that the "Search Registration Marks" option is checked.

You should now have the printed & cut image. Now to get the red sections that I glued onto the "O" in Epcot, I deleted the original Epcot silhouette and opened up the image again in the Auto Trace tool. This time, I selected zero thickness and made sure the Outer Frame Only option was unchecked and then converted to outline.

You can see that now I have the entire Epcot word cut lines, but I only want the "O". So click on the outline and right-click your mouse and then click on the "Ungroup" option.

This will ungroup all of the cutlines so you can select individual shapes. I then deleted every letter but the "O".

Use the Select tool to highlight all of the individual shapes for the "O" and right-click to select the "Group" option. Now you can resize the "O" and move it to overlay the "O" in the print image.

And voile, I can cut "O" on red cardstock and place it over the printed parts in my title (the cut lines are red here). Note that when you click on the Cut button this time, make sure that the "Search Registration Marks" option is unchecked so that it won't look for the registration marks this time.

Hope this helps. Please feel free to contact me though if you're having any trouble or don't understand a certain section of the tutorial.
2 comments:
I love your book for your trip. me and three of my friends are doing a trip this July for 8 days and I would love to make each of us one. Could you e-mail some instructions? I loveed yur site here. I printed out your instructions. I have had my machine for only 3 weeks. Still learning. Thanks. donal.dfrancis@comcast.net Sherrie
Your blog keeps getting better and better! Your older articles are not as good as newer ones you have a lot more creativity and originality now keep it up!
Post a Comment